



There’s a particular kind of frustration that comes from standing in a fitting room, wearing something that’s almost right. The color works. The fabric isn’t terrible. But the shoulders droop a half inch too far, or the waist balloons out like a paper bag, and you know even if you buy it, even if you wear it it’ll never look like it was made for you. So you put it back. Or worse, you buy it anyway and it sits in your closet, perpetually waiting for some imaginary future version of yourself with different proportions.
Here’s the thing most people don’t know: the gap between “cheap clothes that almost fit” and “clothes that look expensive and intentional” is rarely about the fabric or the price tag. It’s about fit. And fit is something you can engineer, even without a sewing machine, even without formal training, and certainly without paying a tailor three times what the garment cost in the first place.
These three techniques won’t turn a $15 shirt into couture. But they will make it stop looking like a $15 shirt.
The Side Seam Tuck: Sculpting Silhouette Without Cutting Anything
If you’ve ever watched a stylist prep a celebrity for a red carpet appearance, you’ve seen this done with binder clips or gaffer tape in a pinch taking fabric that was cut for a generic body and forcing it to acknowledge the actual body wearing it. The civilian version of this, done permanently, is the side seam tuck.
The concept is deceptively simple. On most mass-market tops and shirts, the side seams run in a straight vertical line from armpit to hem. Human torsos, though, are not straight vertical lines. They taper in at the waist and flare back out at the hip. A garment cut in a straight tube ignores all of that, which is why cheap shirts look boxy not because they’re cheap, but because they weren’t designed for any specific body.
To do a side seam tuck, you turn the garment inside out and pinch the fabric along both side seams, taking in equal amounts on each side until the garment skims your natural shape. You’re not pulling it tight you’re removing the excess. Run a straight stitch along that new pinch line, trim the seam allowance, and turn it right-side out.
The transformation is immediate and a little bit alarming, actually. The same shirt that looked like you borrowed it from a slightly larger sibling suddenly looks considered. It reads as intentional. People will ask if it’s a new brand.
This works best on woven fabrics cotton button-downs, linen blouses, poplin shirts. Stretchy knits are more forgiving to begin with and slightly trickier to alter cleanly at home. If you’re working without a sewing machine, a hand-stitched backstitch works fine for lighter fabrics; the stitches don’t need to bear much stress.
The key mistake people make is taking in too much on one side and not enough on the other, which throws off the whole alignment. Go slow, try it on between each adjustment, and treat symmetry like it matters because it does.
Hemming by Hand: The Length Correction Nobody Talks About Enough
Of all the ways that off-the-rack clothing fails real human beings, length is probably the most persistent and the most fixable. Pants that drag. Sleeves that swallow your hands. Skirts that hit at exactly the wrong point on your calf, visually chopping your leg at the widest part. These aren’t style problems. They’re measurement problems, and they have measurement solutions.
Hemming gets treated like a specialized skill because most people associate it with invisible hems and matched patterns and all the other things professional alterations do well. But for a basic hem shortening trouser legs, taking up a skirt, cleaning up the bottom of a shirt that hits too low a hand-sewn blind hem is genuinely learnable in one afternoon.
The blind hem stitch works by catching just one or two threads from the face of the fabric with each stitch, so from the outside, it’s nearly invisible. From the inside, you see the stitches clearly. The technique takes about twenty minutes of practice before it starts looking intentional.
What changes when you get hem length right isn’t just technical it’s psychological. Trousers that hit at the top of your shoe rather than bunching on the floor look pressed even when they’re not. A skirt hemmed to graze your knee rather than hover awkwardly mid-shin changes the entire visual line of your leg. Sleeve length, particularly on blazers and structured jackets, is one of the first things a trained eye notices. A sleeve that ends precisely at your wrist bone, revealing a small amount of shirtcuff, reads as tailored even if everything else about the garment is ordinary.
There’s also a confidence variable here that’s harder to quantify. Clothes that fit your actual body let you move differently. You stop tugging. You stop adjusting. You just wear the thing.
Darting for Depth: How One Structural Change Adds Dimension to Flat Fabric
Darts are the secret grammar of fitted clothing. If you’ve ever looked at a well-fitted dress shirt or a structured blouse and wondered why it seems to have a three-dimensionality that cheaper versions lack, it’s almost always because of darts small triangular folds of fabric,stitched down, that allow flat material to curve around the body’s contours.
Mass-market garments skip darts because they add complexity to the cutting and sewing process, which adds cost. The result is clothing that lies flat against a body that isn’t flat, creating that characteristic gaping and pulling that makes inexpensive clothes look inexpensive.
Adding a simple back waist dart to a button-down shirt is a slightly more advanced intervention than the side seam tuck, but not dramatically so. The process involves identifying where the fabric is pulling or gaping at the back usually between the shoulder blades and down toward the lower back and folding that excess into a tapered shape that’s narrowest at the waist and widens as it moves up and down.
The stitch lines converge at a point at both ends of the dart, which is the part that requires the most care. A dart that ends bluntly creates a dimple or bubble in the fabric; one that tapers cleanly to a fine point disappears into the garment’s surface. The technique is worth watching on video before attempting seeing the motion of guiding fabric under a needle toward a vanishing point is much clearer in motion than in description.
Once you’ve added darts to a back that was pulling, the effect is genuinely different from just taking in the side seams. The garment stops fighting your body and starts following it. The fabric rests smoothly across your shoulder blades, tapers at the waist, and there’s a subtle visual architecture to the whole thing that reads as craftsmanship even when it’s just a Tuesday afternoon and some basic thread.
This technique translates well to structured dresses, blouses, and the backs of blazers. It doesn’t work well on very stiff fabrics or on garments with complex back details pockets, zippers, or heavy prints that would make a new seam line visible and wrong.
A Note on Tools and Expectations
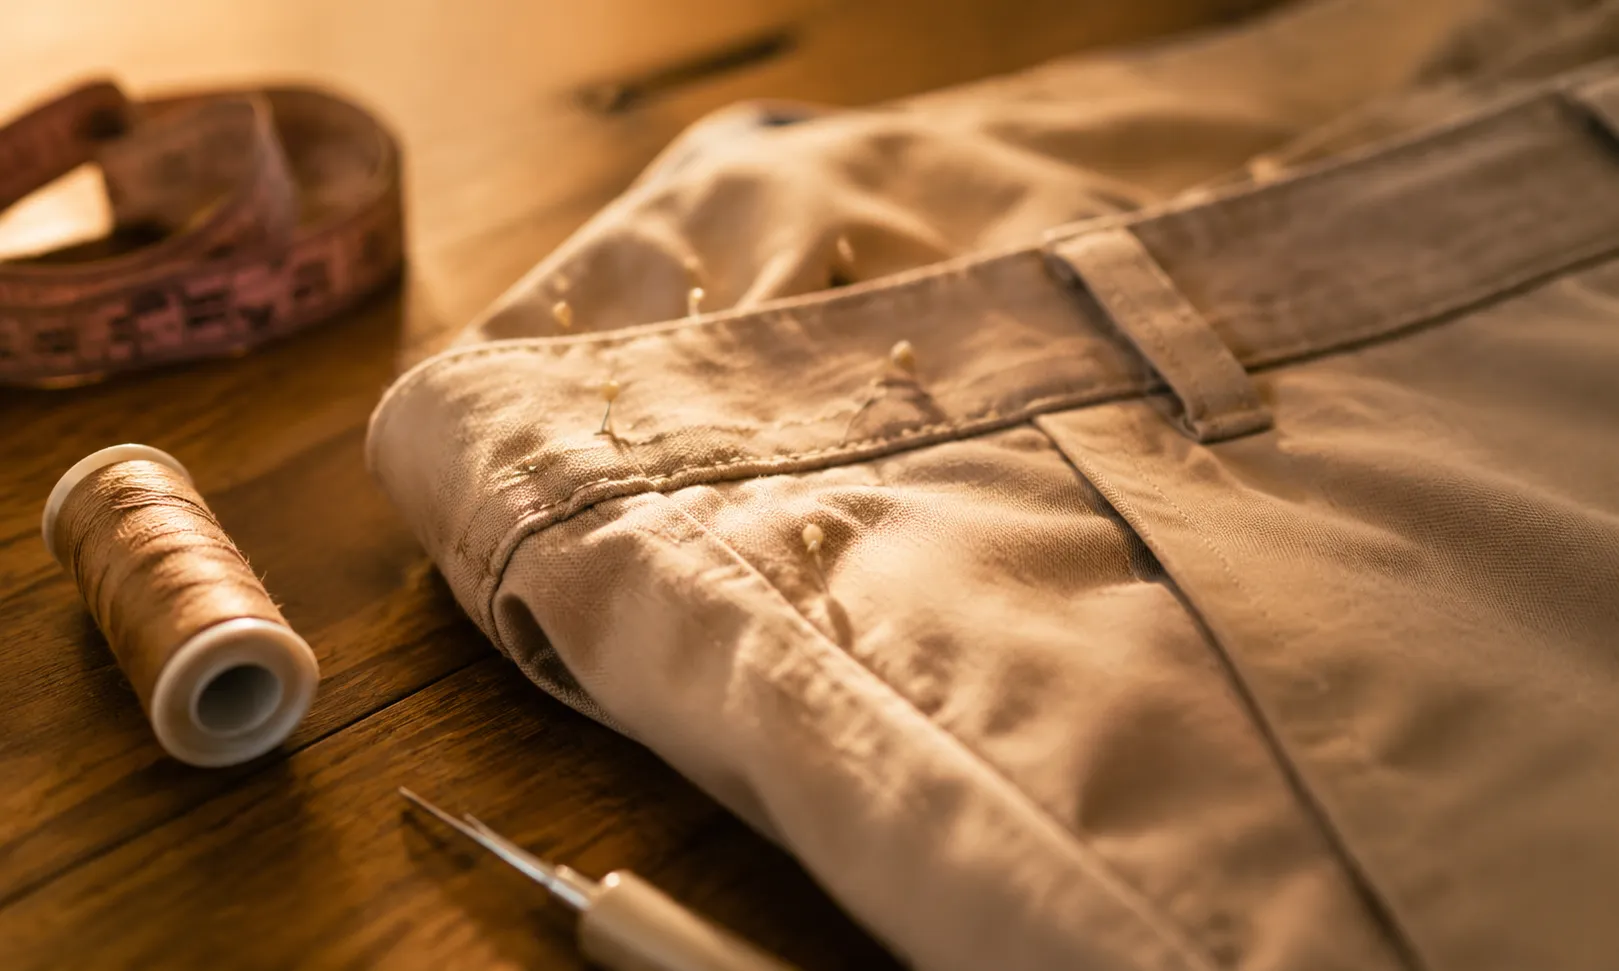
None of this requires an expensive setup. A hand-sewing needle, a few spools of thread in basic neutrals, a seam ripper for corrections, a fabric chalk pencil for marking, and a small pair of sharp scissors will handle almost every situation described here. A sewing machine makes things faster but not fundamentally different.
What it does require is patience with the fitting process itself. The pinning, the trying-on, the adjusting, the trying-on again that iteration is where the actual work happens. Thestitching is almost secondary. Rushing through the fit stage and moving straight to the needle is the thing that produces garments that look altered rather than made.
There’s also something worth acknowledging about the cultural assumption embedded in fast fashion: that clothing is disposable, interchangeable, and not worth investing attention in. These three techniques push against that quietly. They ask you to look at a garment, understand what it’s doing wrong, and make a deliberate decision to fix it. That act of attention is a small form of resistance. It also saves money, extends the life of your wardrobe, and produces results that a lot of people will simply assume cost you more than they did.
The clothes were always capable of fitting better. They just needed someone to show them how.


